Transferring a domain name often feels like digital open-heart surgery. You worry about your site going offline, losing your SEO rankings, or getting stuck in a technical loop between two different companies.
I have some good news for you: In 2026, transferring your domain to Wealthy Affiliate is more like a simple “copy and paste” than a technical nightmare. Whether you registered your name at GoDaddy, Namecheap, or Google Domains, bringing it under the Wealthy Affiliate (WA) roof is one of the smartest moves you can make for your business.

In this guide, I’m going to show you exactly how to do it, why you should do it now, and how to avoid the common mistakes that trip people up.
Why Transfer Your Domain to Wealthy Affiliate?
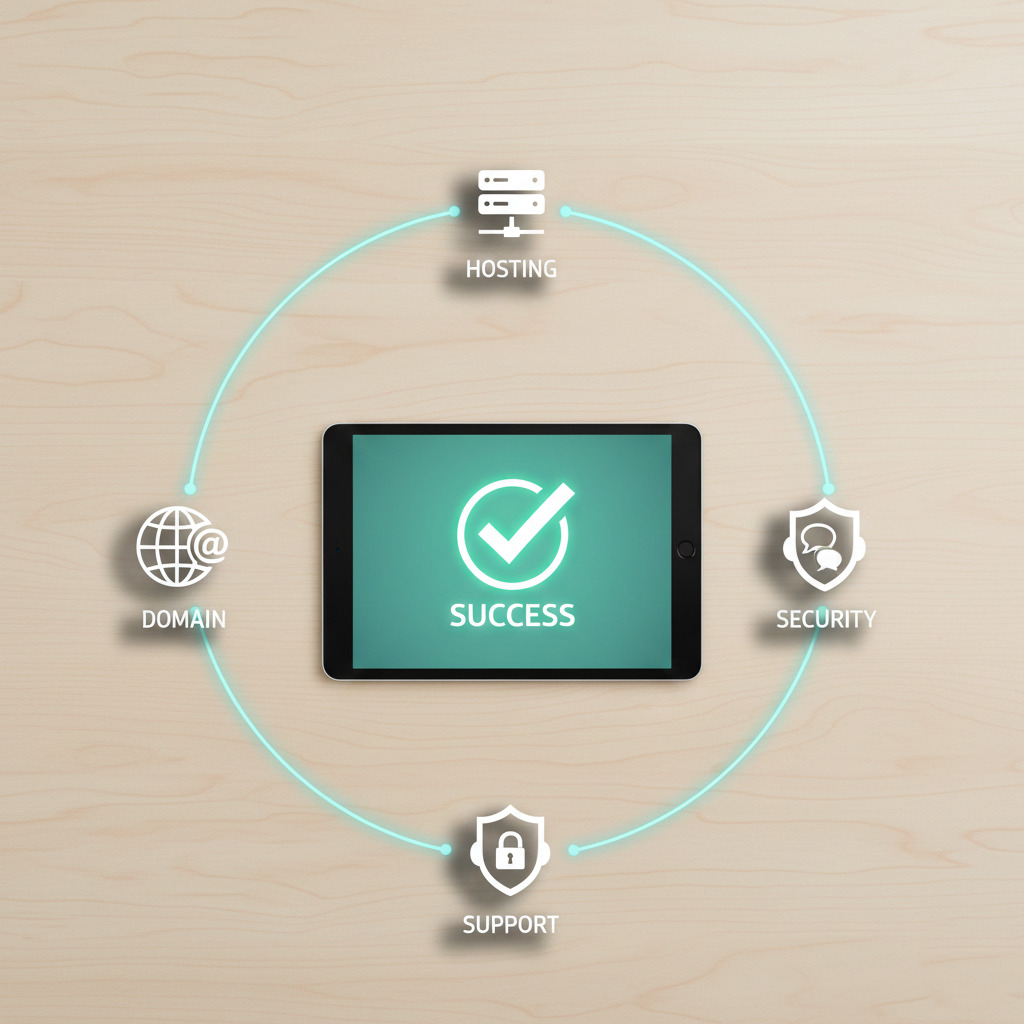
If your domain is currently registered somewhere else, you’re likely managing two different accounts, two different billing cycles, and two different support teams. By moving your domain to WA, you unlock The Power of One.
- Consolidated Management: Manage your hosting, domain renewals, email settings, and website security all from a single dashboard.
- Superior Hosting Integration: When your domain is registered with WA, the connection to their high-speed servers is seamless. No more messing with complex “A Records” or “Nameservers.”
- Free SSL & Security: WA automatically provides and manages your SSL certificates, ensuring your site stays “Secure” in Google’s eyes without you lifting a finger.
- 24/7 Expert Support: If something goes wrong, the WA SiteSupport team can see both your hosting and your domain, allowing them to fix issues twice as fast.
Before You Begin: The Pre-Transfer Checklist
Before we click the “Transfer” button, we need to make sure your current registrar is ready to let go. Follow these four steps first:
- Unlock Your Domain: By default, all domains are “Locked” to prevent theft. Log in to your current registrar (e.g., GoDaddy) and flip the switch to Unlocked.
- Get Your EPP/Authorization Code: This is a unique “password” for your domain. Your current registrar will provide this (usually via email) once you request a transfer.
- Check the 60-Day Rule: Per ICANN rules, you cannot transfer a domain that was registered or transferred in the last 60 days.
- Disable WHOIS Privacy: If you have “Private Registration” turned on, disable it temporarily so the transfer systems can verify you are the true owner.

Step-by-Step Guide: The Transfer Process
Once you have your EPP Code, the rest happens inside the Wealthy Affiliate “Business Hubs” interface.
Step 1: Navigate to SiteDomains
Log in to Wealthy Affiliate and head to the Websites menu, then click on SiteDomains.
Step 2: Start the Transfer
Click the button that says “Transfer a Domain.” You’ll be asked to enter the domain name you want to move. WA will quickly check to see if the domain is “Unlocked” and eligible for transfer.
Step 3: Enter the Authorization (EPP) Code
This is where you paste that code you got from your old registrar. This proves to the system that you have the authority to move the domain.
Step 4: Confirm and Pay for Renewal
Standard industry practice requires you to add one year of registration to your domain when you transfer it. You aren’t “losing” money here; you are simply prepaying for your next year of ownership at WA’s competitive rates.
Step 5: The Waiting Game
Once you click confirm, the “handshake” between the two companies begins. This usually takes between 5 to 7 days. During this time, your website will stay online and perfectly functional!
What Happens After the Transfer?
Once the transfer is complete, Wealthy Affiliate becomes your official “Registrar.” You will receive an email confirmation, and your domain will appear in your SiteDomains dashboard with a green “Active” status.
The best part? WA handles the DNS automatically. You won’t have to worry about your site “breaking” because of a misconfigured setting. Your SSL will be active, your hosting will be optimized, and you can get back to what matters: Creating content and making sales.
2026 Domain Pricing Comparison
Based on standard .com domain extensions.
| Feature | Wealthy Affiliate | GoDaddy | Namecheap |
| Introductory Price | $15.00 | $4.99* | $11.28 |
| Annual Renewal | $15.00 | $21.99 | $18.48 |
| WHOIS Privacy | FREE (Included) | $0.00 – $15.00** | FREE |
| Email Forwarding | FREE | Extra Fee | FREE |
| SSL Certificate | FREE (Managed) | ~$69.99/yr | ~$5.99+/yr |
| Hidden Upsells | NONE | High | Low |
*Note on GoDaddy: Their $4.99 offer typically requires a 2-year commitment, with the second year jumping to the full renewal price. Note on Privacy: While many registrars now include basic privacy, some still charge for “Full Protection” or “Security Bundles” that Wealthy Affiliate includes by default.
The “Value Gap” Analysis
When you look at the table, you’ll notice that while some registrars lure you in with a $5.00 “teaser” rate, the long-term cost is significantly higher.
- Year 1: You might save $10 at GoDaddy.
- Year 2 & Beyond: You are paying roughly $7.00 more per year just for the registration.
- The SSL Factor: If you aren’t technical, setting up a free SSL on a separate host can be a headache. Wealthy Affiliate saves you that $70/year (standard GoDaddy SSL price) by automating the security for you.
Pro Tip for your Article:
Point out to your readers that the $15.00 at Wealthy Affiliate is flat. There are no “surprise” increases in year two. What you see is what you get, which makes budgeting for your business much easier.
The “Post-Transfer” Success Checklist
Once your domain has officially moved over to Wealthy Affiliate, you don’t want to just let it sit there. You need to activate the 2026 suite of tools to ensure your site is running at peak performance.
Copy and paste this checklist into your notes to ensure you don’t miss a beat:
- Enable SiteSSL: Go to Websites > SiteManager and ensure the SSL certificate is toggled to ON. This gives you the “Padlock” icon in the browser.
- Setup Custom Email: Head to SiteDomains > Email to create a professional email address (e.g.,
yourname@yourbrand.com). It looks much better than a Gmail address. - Run a SiteSpeed Test: Use the built-in “SiteSpeed” tool in WA to ensure your site is loading in under 2.0 seconds. Wealthy Affiliate’s hosting is optimized for this.
- Link to a Business Hub: If you haven’t already, assign your newly transferred domain to a Business Hub so the AI Article Designer can begin suggesting high-ranking keywords for your specific niche.
- Verify in Google Search Console: Now that your hosting has changed, it’s a great time to re-verify your site in GSC to ensure Google is crawling your new, faster servers correctly.
Wealthy Affiliate Tutorial 2026 This video provides a modern walkthrough of the Wealthy Affiliate platform, which is helpful for seeing where the domain and hosting tools are located in the current interface.